Blueberry Cider-13 March 2025

4.5-gallon batch. Starting gravity 1.050. Using a blow-off tube. Started S-04 for one day on a stir plate.
6-96fl oz bottles of GV Apple Juice.
1Quart Blueberry Concentrate.
US-04 Yeast-1st Generation
(I talked with Tim at OKCider and I plan on doing 1 gallon of this in coffee to experiment. He says to use about 10 grams of coffee
Winter Spiced Cider-5/Nov/2024

3.5-gallon batch total. Starting gravity of 1.050. Used tube for blow-off in week one.
- Four bottles of 96oz Great Value 100% Apple Juice (Primary)
- Washed US-05 yeast (third and final generation)
- 1/2lb Light Brown Sugar (Primary)
- Mulling Spices (Secondary-Savory Spice OKC-*Note*-I used too much. Next year, seep in secondary for 24 hours only.)
- One bottle 64oz 100% Great Value Cranberry Juice (Keg)
- One can of frozen apple juice concentrate (keg)
- Force cab in keg
Small Batch Cyser-31/Oct/2024
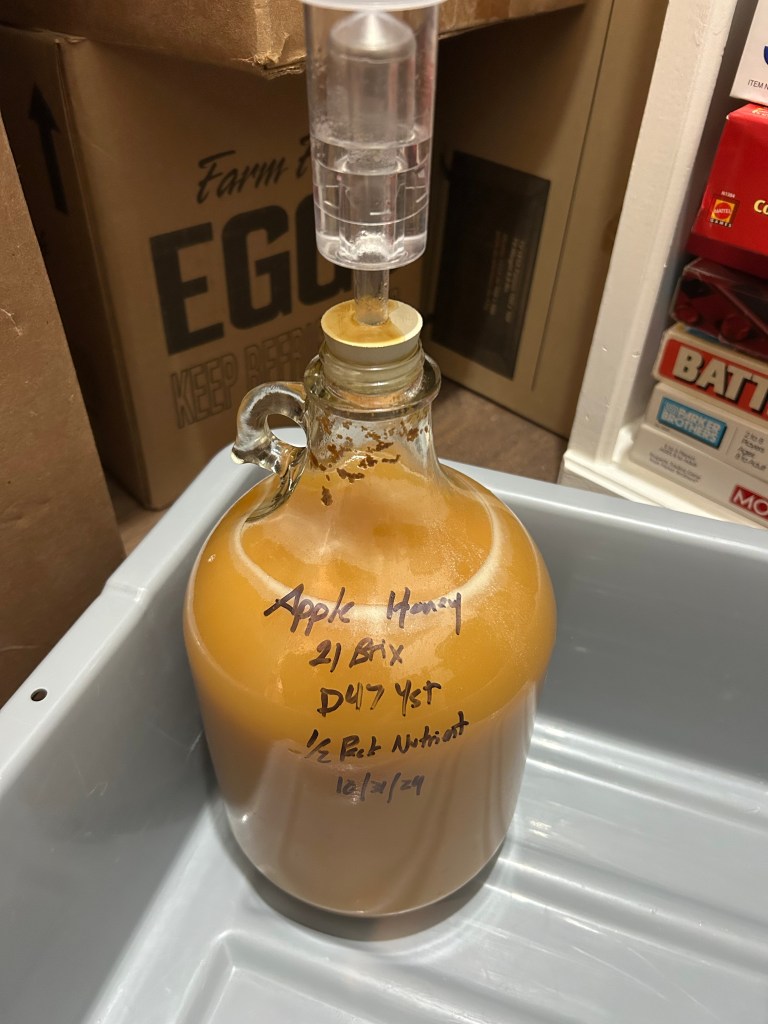
Ingredient List:
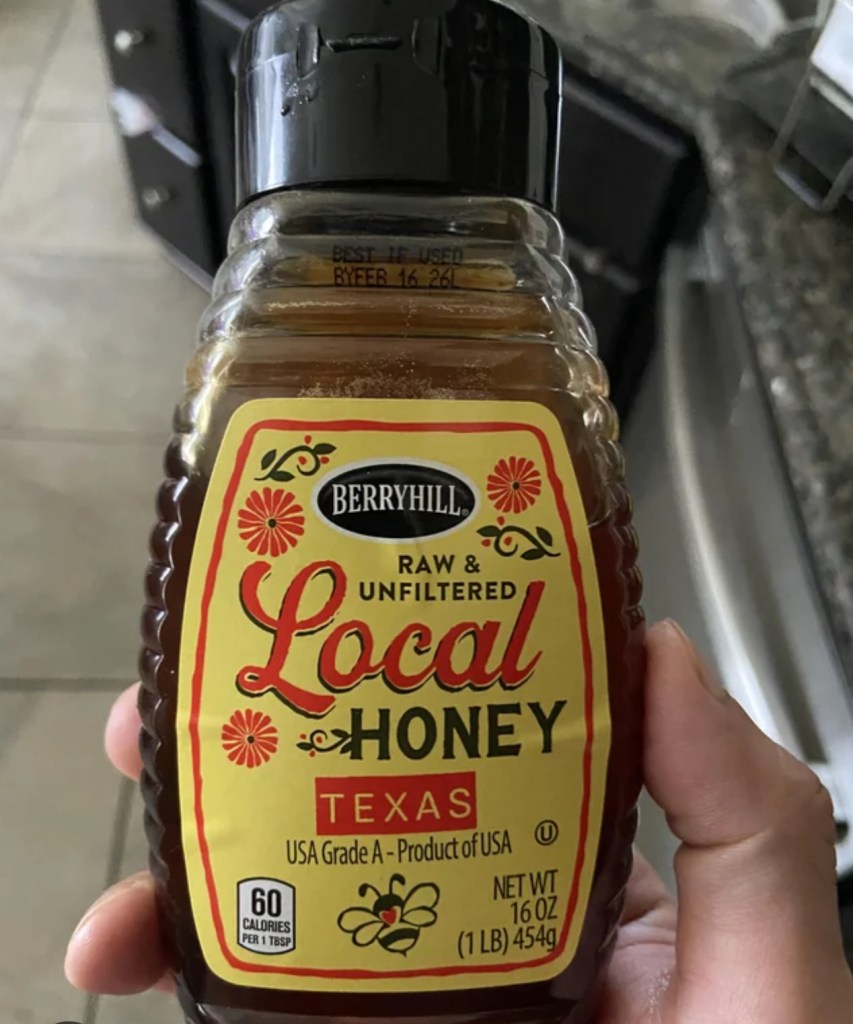
- Two 640z bottles of Aldi Apple Juice
- 2lb Aldi Texas Raw Honey
- D-47 Yeast
- Yeast Nutrient
I added these to a 1-gallon jar and placed an airlock on top. The fermentation went crazy and I had to replace the airlock with a clean one two days into fermentation. Five days in I added less than a teaspoon of yeast nutrient.
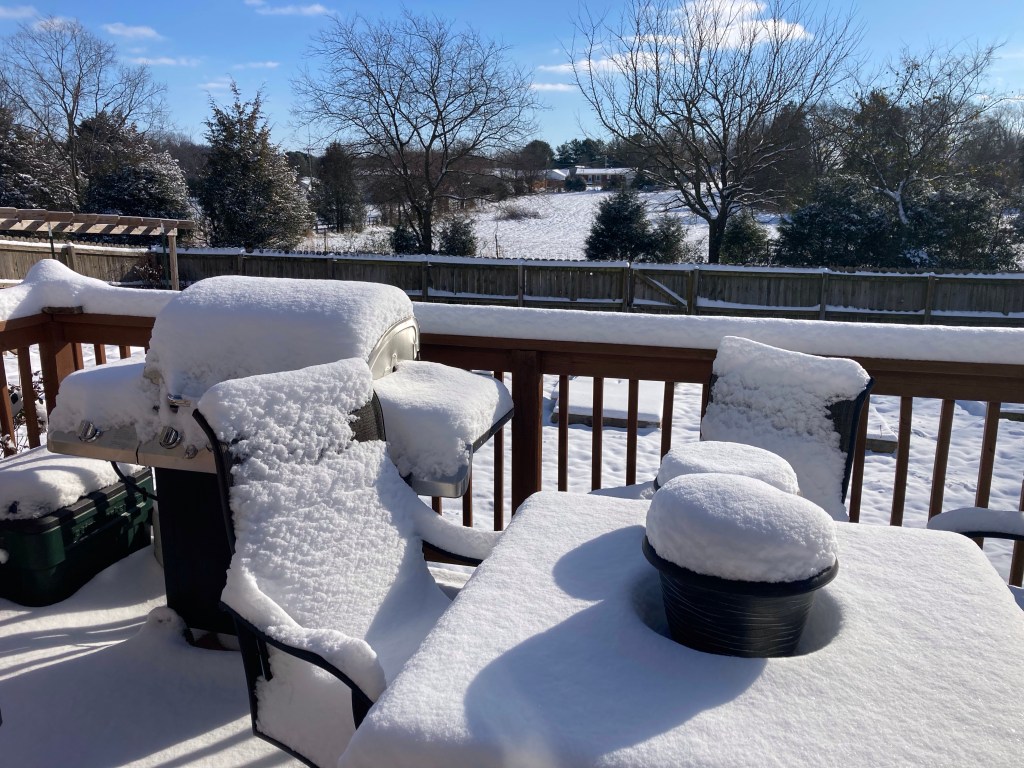
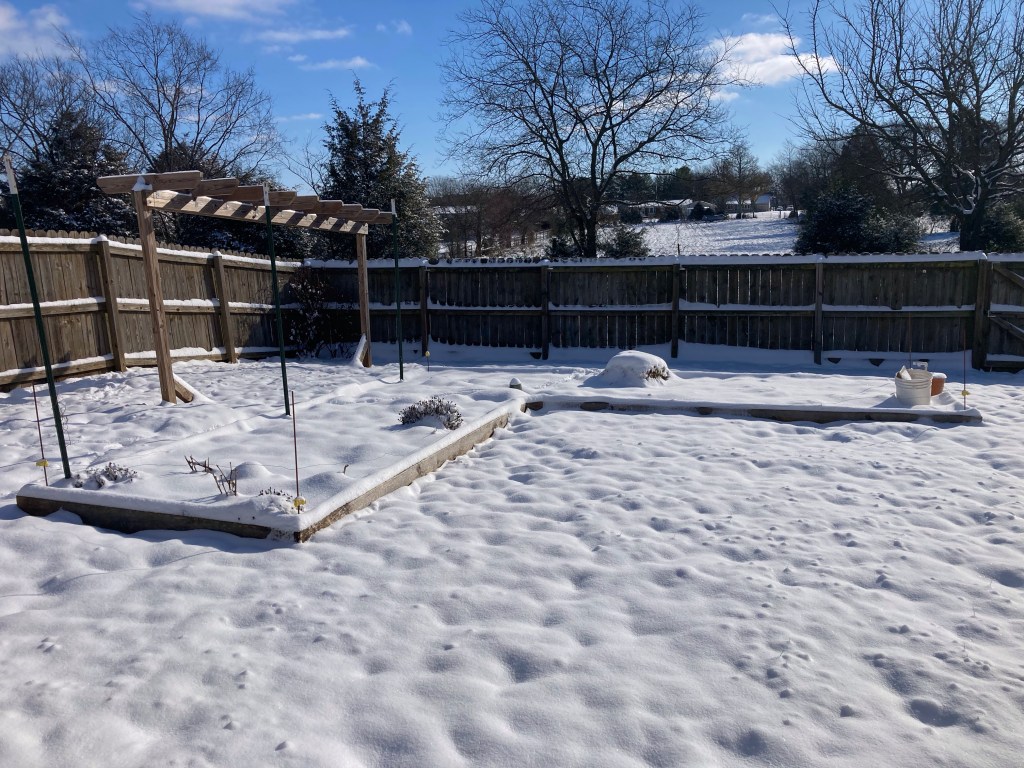
Snow! Week of Christmas 2022

It was COLD the week of Christmas! The wind chill got down to -25F! We brought the dog into the garage and I fortified his doghouse with foam insulation on the inside, brought in more and new straw, and got the heat lamp ready to face the opening of his house.
When we traveled to Paris Tn for Christmas, the temps started getting a bit warmer (only 10-15F at night). It is January 13 today and it’s a high of 39F, the coldest day in a couple of weeks. Outside of Christmas week, this winter has been somewhat wet and mild.
DIY Cider-Blueberry 15 Dec 2022
6-96fl oz Great Value Apple 100% Juice ($2.54ea) [needs to be $1.63 or less per 64fl oz bottle to be a better deal and there need to be 9 of these purchased to equal the 6, 96fl oz ones.]
1-64fl oz Cranberry 100% Juice GV ($4.24)
1 Quart of frozen Blueberries (FREE)
3 Black Tea Bags (???)
1 Can Frozen Apple Juice Concentrate at kegging for back sweetening. ($1.69 Kroger)
1 package dry yeast, Safale US 05 ($4.00ea Amazon)
Cost: $25.17
Venison-Pork Bacon 10 Dec 2022
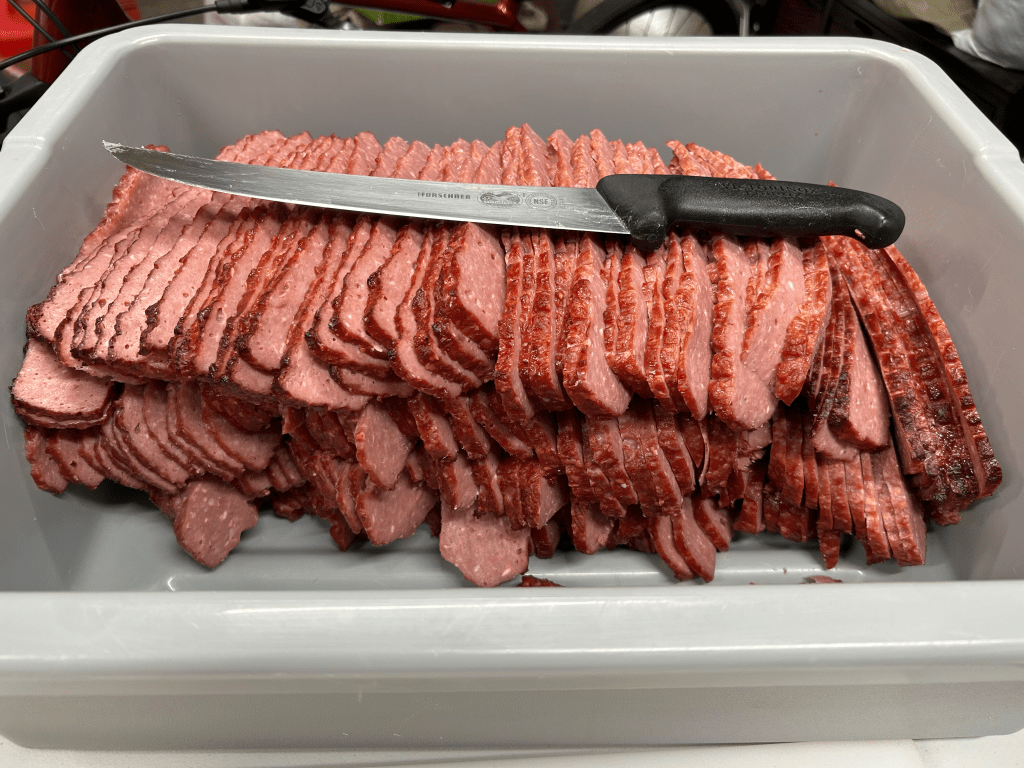
25lbs of venison/pork bacon.
1 package of AC Leggs Restructured Venison Bacon Seasoning (25lb)
1 oz pink cure
12.5lb Venison
12.5lb Boston Butt ($1.48 in Dec 2022)
Grind the meat using a course plate, add seasoning to meat, grind again using fine plate, add to mixer, add pink cure and ice cold water. Mix till and look for protein extraction. Place in disposable cake pans lined with butcher paper or Saran Wrap. Smoke using hickory wood till 140 degrees. Slice and freeze. Tastes much like bacon, but it looks and feels like thinly sliced spam or ham. Very tasty!
Greek Yogurt v 1.0 2022
I made some greek yogurt today! I used Guildbrook Farm’s recipe and it turned out great! I started with 3 quart jars and ended up with 1 1/3 after straining the liquid whey. I used a large handkerchief as the cloth strainer and let it drip in the fridge for 2-3 hours prior to placing back in the jars. I added some vanilla extract to the jars and plan on enjoying them this week.
From Guidbrook Farms: ******How to Make Yogurt – 3/4 Gallon of Milk (pref whole milk, not ultra-pasteurized) – 3/4 Cup Store-bought Yogurt Starter (Stonyfield Organic Whole Plain works great) Slowly heat milk to 160 degrees*. (for raw milk heat to 180 degrees). Pour into quart mason jars. Allow to cool to 110 degrees*. Add 1/4 cup of store-bought yogurt (or previously made yogurt) to each jar. Gently stir and add tight lids. Fill water cooler with water that is 110 degrees* and completely submerge jars for 5-8 hours. The longer the more tart! After 5-8 hours, check to see that yogurt pulls away from jars. If so, it’s ready! Place in refrigerator to cool and thicken a bit or you can strain through a muslin or linen napkin for 1-2 hours to thicken it even more. Save some yogurt from this batch to make the next batch. You can keep making yogurt from previous batches for about 5 times before you need to buy a new store-bought starter. Make a new batch every 7 days to keep yogurt starter active. Cut recipe or double recipe as needed.******
Sauerkraut 2021
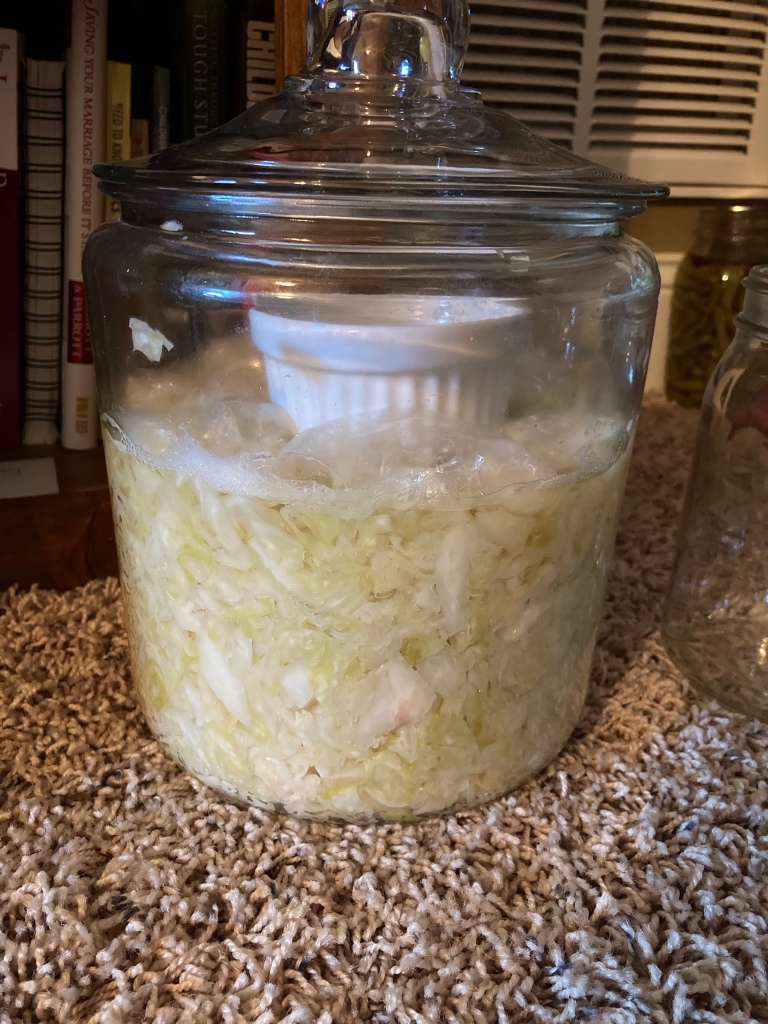
Start with two cabbages. Cut out the core. Cut or shred the cabbage and then get the shredded weight in grams. Add 2% of the shredded cabbage weight in kosher salt to the shredded cabbage. (Grams of cabbage x .02= grams of kosher salt.)
Toss cabbage and salt and knead for 2-5 minutes. You should begin to see liquid coming from the cabbage as you work it by hand. Stuff the mixed cabbage/salt mixture in a container (such as the one above), and use a muddler or like instrument to pack it down. Top with plastic wrap and a small weight then let it ferment for at least one week. (At the time of this writing, I’ve let the fermentation go for 6 days. I will try it over the weekend and will most likely let it go at least one more week.) I finished the fermentation at 14 days and got 6 quarts from the two cabbages.
2021 Garden Reminders

34 pepper plants
Venison/Pork Brats

April 17, 2021
Saturday’s are a good day to enjoy hobbies! Christy and I often take the day to ride bikes, visit family, hike, or relax at home. For me, working with a hobby helps me exercise my body and mind in different ways. On this Saturday, I was able to make some bratwurst for the first time. I used Joshua Weissman’s recipe as a base, and scaled it up for 10lbs.
Venison-6lbs
Pork Butt-4lbs
Salt 2%-5TBS
Black Pepper-4 1/3 tsp
Allspice-2tsp
Dry Mustard-8 3/4 tsp
Maybe 2 Quarts of ice cold water after all was ground, during hand mixing
This was a fun recipe! Easy and cheap. I found the butts on sale at Kroger and the venison was left over from a deer I harvested in 2020. This recipe yielded 36 brats and several patties as there is always leftover meat in the stuffer. (This time there was ALOT of extra meat since the seal on the stuffer was split and about 1/2lb oozed out of the top of the stuffer.) I used my #8 Cabela’s grinder with the 4.5mm plate to grind the meat one time through. I made sure the meat was very cold by cutting it into smaller strips and placing it in the freezer for about 2 hours prior to grinding. I also placed the grinder pieces in the freezer and should have placed the stuffer container in the freezer as well, but did not. (Maybe I didn’t have room??) I then sprinkled the seasoning on the meat and ground it. After I ground both meats, I placed it in the refrigerator for 30 minutes or so. I then mixed the meat by hands. I was too lazy to get my hand mixer down from the shelf, but quickly wished that I had since my hands were slowly freezing and my wrists were burning due to the muscles being worked in a way they were not used to working. I got good protein extraction and then filled the stuffer tube.
It was at this time that I realized I had made a few mistakes the last time I used the stuffer. 1. I had not been using enough mineral oil as a lubricant and the seal had torn. 2. Or…it had torn because I had not been taking the seal OFF the plunger before storing. I suppose I could do this, or unscrew it and store it separately. 3. I had not ordered/stored an extra seal, even though I thought about it, yet never did it. I immediately went to Amazon and ordered a package of two.
This caused me to reevaluate my “spare part” situation for both the stuffer and the grinder. This summer I’m making a goal to purchase some extra grinder plates and knives to have on hand, as well as some food grade silicone spray and grease.
After I filled the stuffer, I began to fill the hog casings I purchased from LEM. I watered down two cookie sheets and used one of these so the filled casing would slide as I filled it. The casings were great! They slid right on the horn and filled up without a single blow-out.
I’m looking forward to purchasing a #32 grinder from Meat! this year and then a meat mixer attachment the following year. These will help immensely!
Spring Gardening-Late April 2021
I was able to take a Friday off due to working Sunday and begin preparations for “Garden 2021.” The Winter Sowing method is still my favorite in seed propagation. I had about 4 milk jugs fail this year, but I used old seed that I had been saving (some I have had since our time in Kansas City). I probably should have been saving seed in a freezer, but they are so plentiful right now. I have switched to placing a collection in a mason jar with a gel packet inside though.
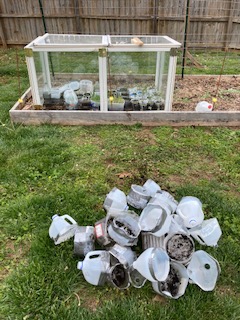
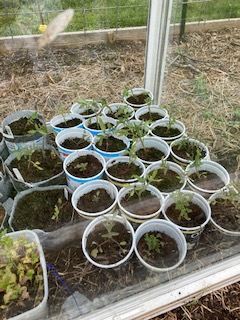
I took most of the old milk jugs and repotted the tomatoes in yogurt containers I’ve been saving. This gives the seedlings more space and I’m able to plant them deep; helping to provide a better root system. I’ve found this to provide a healthier plant for the season. I need to count the number of tomato plants I have, but I believe there are around 40. Hopefully I’ll remember to edit this post with a better number.
Last year I had the pole beans on the left side of the garden in an “L” shape with the cattle panels. This year I’ve placed one wall of beans on the left and the other on the right. Pictured above will be Pink Tip Greasy Beans. They’ll be ready in 100 days. I planted both beans 1″ deep and 2″ apart.

The Mayflower Beans were purchased from SeedSavers and I should have enough original seed for at least one more season-maybe two. I’m excited about these beans! I was born in Plymouth MA, so the name of them are intriguing. Last year I planted the greasy and the rattlesnake, preacher beans. I wasn’t too impressed with the rattlesnake ones, so I’ve switched to these. I’ll also plant some bush beans. I bought heirloom beans of all the varieties, so I’ll be saving some of all.
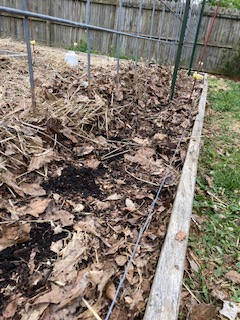
Driving in the 8′ tee posts and putting up the cattle panel are a chore. I was able to do this before lunch followed by dividing out the tomatoes in the afternoon. I believe I had about 4 hours of gardening work into these projects. One thing I love about raised bed gardening is that I’m able to save a lot of time. Once the garden is in, I don’t spend much time weeding or fertilizing. I do my best to amend the soil with compost in the fall, then cover it with dead leaves and straw. The two later then compost slowly all winter and into the summer. I usually put a little bit of composted manure and worm castings in the garden mid-summer, but don’t worry too much.
Planting Peppers-Where Are They?
Hopefully this post will help in identifying the peppers this season. Serrano, tampiqueno, wonder bell, pepperoncini, jalapeño. I’d like to save seed from all but the wonder.
Pickled Pepperoncini Peppers-6 Pints
How to Make Brine for Pickled Jalapeños
Adapted from this site: https://cookfasteatwell.com/pickled-jalapeno-recipe/
The brine for this recipe is simple to make. For one pound of pepperoncinis, combine three and a half cups of white vinegar and one cup of water. If you want, add one tablespoon picking salt and bring the mixture to a boil. (The pickling salt keeps the canned jalapeños from turning cloudy. If you don’t want to buy a box of canning salt, you can use Kosher salt. Just expect a cloudy appearance in your jars.) Adding salt is optional but it adds a nice flavor.
As with all canning recipes, don’t adjust the brine. Peppers are low in acid. The ratio of vinegar to water keeps you safe. Use a vinegar that contains 5% acidity.
How to Pack the Jars
After heating your clean pint jars, it’s time to pack them. Notice I said “pack”. You really want to get as many pepper rings into the jar as you can. Of course, take care not to overly force the slices into the jar–there’s no need to crush or bruise them.
After adding as many slices as you can, use a clean chopstick to poke the slices down. You can often get an extra handful or so of slices into the jar after poking them down with a chopstick.
How to Make Pickled Pepperoncini’s Crisp and Crunchy
One of only problems with homemade pickled pepperoncini’s is they can turn out mushy. No one wants a mushy pepper! To keep the pickled peppers crisp and crunchy, use Pickle Crisp by Ball or Mrs. Wage’s Xtra Crunch. Both products are calcium chloride, which is a type of salt that keeps canned produce firm, among other things. To use, add 1/4 teaspoon per pint to keep the peppers crisp.
Homemade Pickled Pepperoncini’s are easy to make! This simple recipe, which uses the waterbath canning method, makes tasty and crisp homemade pickled slices.
Prep Time 50 minutes
Cook Time 10 minutes
Total Time 1 hour
Servings 2 pints (I got 6 pints from 1lb of sliced peppers-tjd)
Instructions
- Slice Peppers: Wash peppers and cut off steams. Slice peppers into 1/4-inch thick rings. Wear gloves for this step to avoid burning your hands. And do NOT touch your eyes or any other sensitive body parts.
- Heat Jars: Place a rack into the bottom of a large pot. Fill pot with enough water to cover jars. Submerge jars in water. Bring water to a simmer, 180 degrees. Simmer jars for 10 minutes. (Since the peppers process for 10 minutes, you don’t need to boil the jars.)
- Prepare the Brine: While the jars heat, combine vinegar, water, and salt medium saucepan. Boil for five minutes.
- Pack Jars. Remove jars from the water. Pack the peppers into hot jars, leaving 1/2 inch headspace. Add 1/4 teaspoon Pickle Crisp to each jar, if desired.
- Add Brine. Ladle brine into jars, leaving 1/2 inch headspace. Using a wooden chopstick, bubble tool, or soft rubber spatula, remove air bubbles. Measure headspace. Add more brine if needed.
- Clean Rim and Apply Lids. Wipe rim with clean, damp cloth. Place lid on jar. Screw on band to “fingertip tight.” You should feel some resistance but you don’t want to crank the band on too tight.
- Process Jars. Lower jars into pot. Water should cover jars by 1 to 2-inches after all jars are in the pot. Cover the pot. Return water to a boil. Process for 10 minutes. (Start the timer once the water returns to a boil.) Be sure to maintain a rolling boil during the entire 10 minute processing time.When processing time completes, turn off the burner and remove lid. Wait 5 minutes before removing jars from the pot. Lift the jars out of the water straight. Avoid tipping the jars. Place hot jars on a towel-lined counter or wood cutting board. Allow jars to cool for 24 hours.
- Check Seals. Press the center of the lid. It should not move. Remove outer ring. Gently try to lift the lid off the jar. It should not move. Wipe jars. Label. If any jar didn’t seal, place into the refrigerator and enjoy within a week or so.
- Store: Place jars in a cool place out of direct sunlight. For best flavor, wait six weeks before enjoying the peppers.
Snow Jan 6 2022
We probably received 4-5” of snow. The roads are covered in ice on day two.
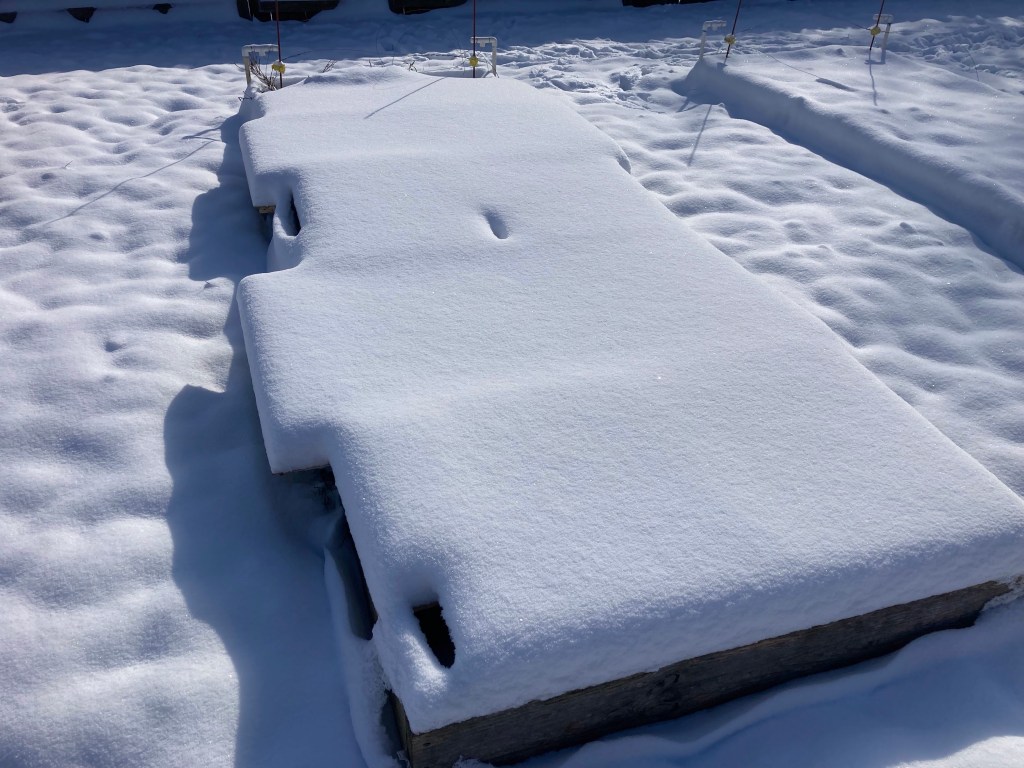
Winter Spinach 2021-22!
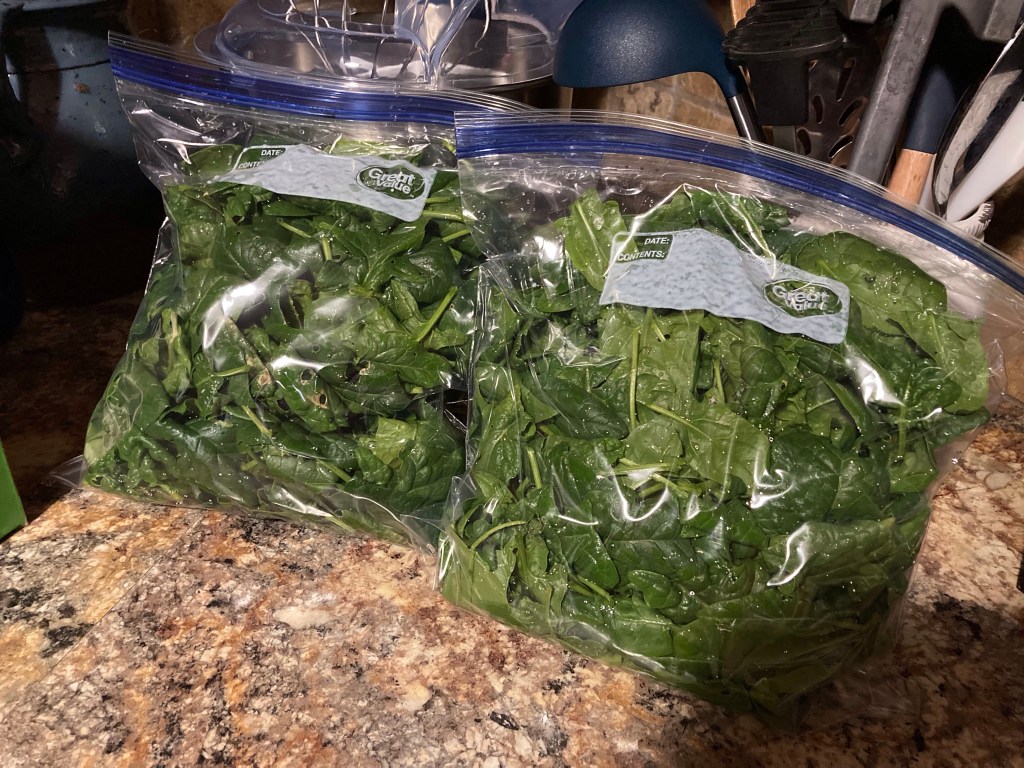
I picked two more gallons of spinach today (23-1-2022). This makes a total of 14 for the winter. (15 July 2022 Edit…I believe I was able to harvest around 25 gallons of spinach for 2021-22. Plan on doing more in 22-23 as well as trying some other cold weather hardy veggies that my stomach can tolerate.)
Greenhouse 2022

Mama Betty Peas (Cowpeas)
Mama Betty Allen of White Plains KY grew these for over 80 years. In 2019, I received these from Teresa Allen, Betty’s daughter in law. After a couple killing late frosts, I still had enough seed to get my first crop. This year I added a cattle panel (10′) for them to climb. They are doing great!

Apple Cider March 2024
I did a quick cider with 6.5 jugs of 96fl oz WalMart apple juice, two cups of brown sugar, half cup of diced raisins, and washed yeast from the fall cider.
UPDATE May 30: Some of the best yet!! Mixed with my Faux-8, it’s really good!!
UPDATE Mid-July 2024: I had a gallon and a half left over in the carboy since March. I think the extra time sitting on the yeast gave it a nutty flavor. I really like it!! I poured it into the corny keg and I’m loving this batch.
